Friday, June 20, 2014

Giveaway and Ruler Growth Decal Chart Tutorial


For those of you who know me well, you know that I am not very artistic. I am absolutely useless with a paint brush. Nevertheless, I saw a ruler growth chart on Pinterest, and I wanted one...bad! Naturally, I was intimidated by the idea of painting all those perfect little lines. So, I kept putting it off.
    I loved the idea of being able to move it from house to house, and not leaving those special memories behind. Then I was over at our cousin's home (shout out Tamela), and she had a gorgeous one. She told me I could do it, and that she would help me along the way.
    With her confidence behind me, I started my project. Thank goodness I had the presence of mind to check etsy first! I found a lovely little shop by the name of LittleAcornsByRo. They had exactly what I needed: vinyl decals! No painting tiny black lines (tick marks) for hours on end. I hastily ordered my decals.

I bought a soft, well sanded 6ft. board from Lowes. I sanded it a little for good measure, and then painted it with an off-white color that matches the coastal furniture in my home.

My hubby and I turned on Netflix, I carefully placed the board on my blanket covered coffee table and went to work. First, I took a measuring tape and marked every foot with a pencil to make sure I stayed on track. (Important to remember - you cannot start at 0. You have to start at 6 or 8 inches...whatever works for you, because it is not going to be touching the ground. You have to get it past the baseboard. I believe LittleAcornsByRo recommended 8 inches, but I stuck with 6)


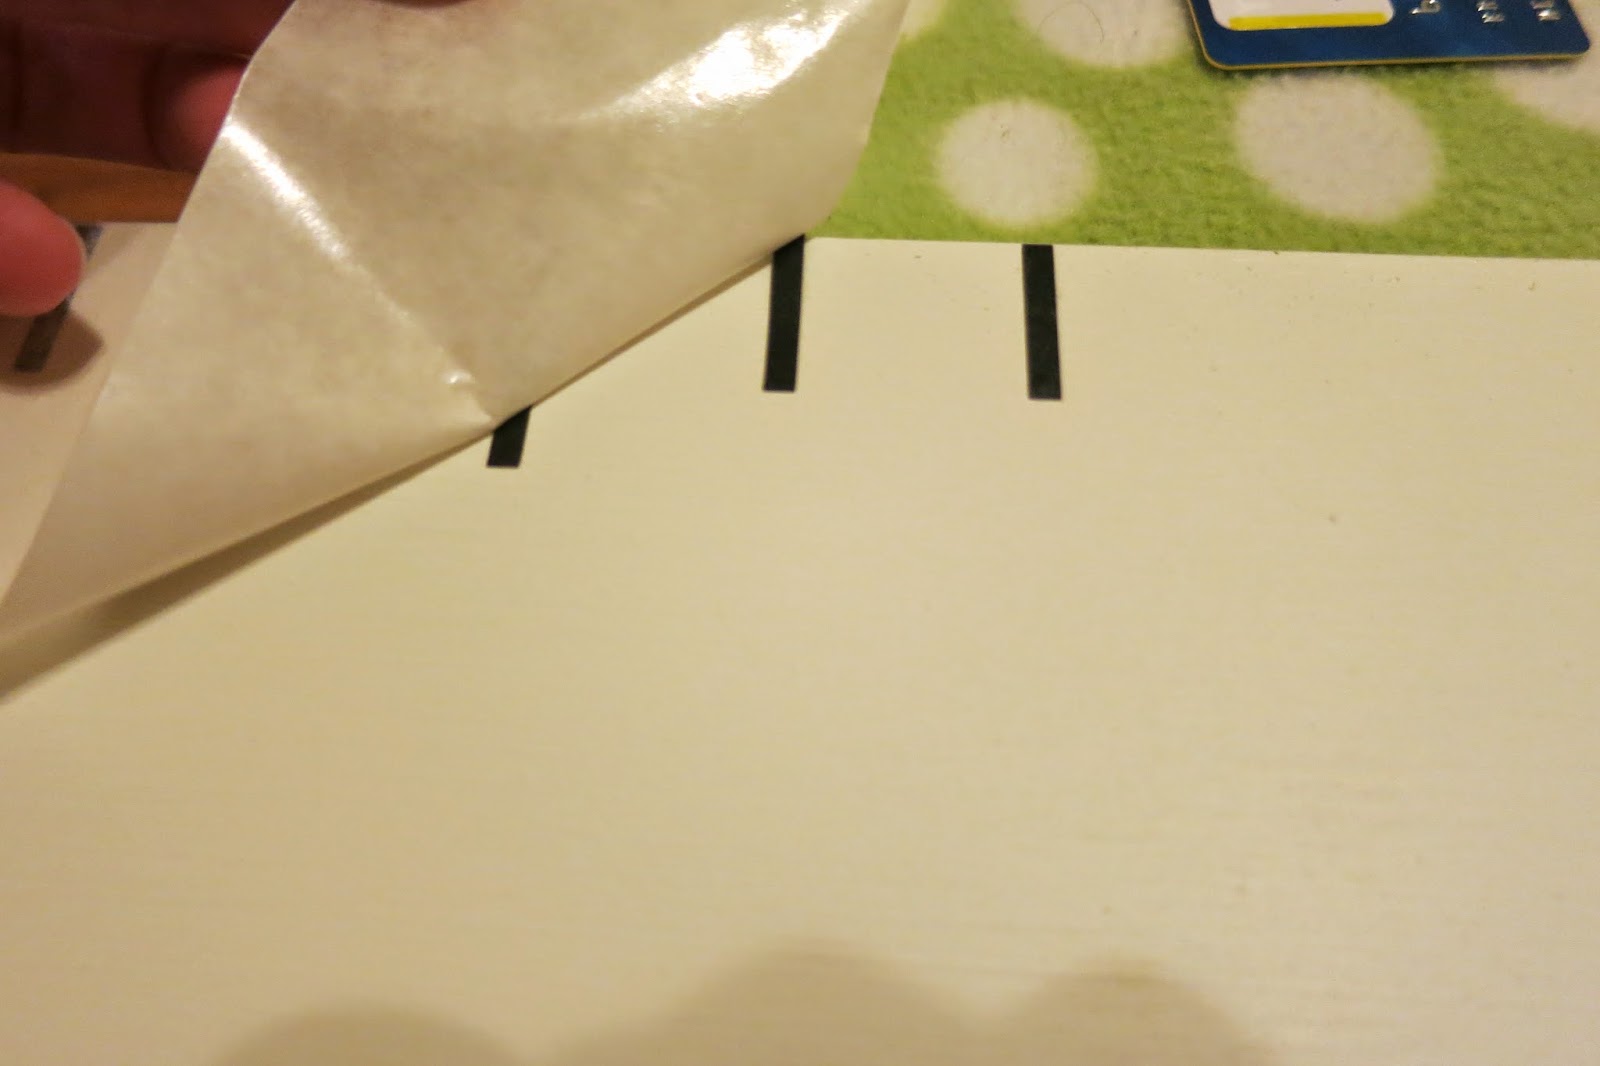
Peel the backing off your decal sheet, and carefully place on the board...if you are careful you can pick it up and reposition if you make a mistake. After it is in position, take a credit card and start to rub over the vinyl tick marks. Once that is done, you can grab a corner and slowly start peeling the paper off. I found pulling diagonally was best.


Helpfully, the decals came in foot long sections, so you aren't wrestling with a six foot roll of paper. Once you get a rhythm, it's easy as pie.


The nice thing about these decals is that you are able to customize them the way you want. I placed my numbers directly across from the foot marker ticks, but you can place them above or below too.


I  ordered a custom personalized add on with our family's name. They have a lot of custom options, and lots of color choices.


Above photo is the first official measuring attempt...didn't go well. He smiled for the camera, but that was all the cooperation we got.

I love that we'll never have to leave these little marks behind.


I was very pleased with the finished product, and highly recommend LittleAcornsByRo. In fact, I'm getting ready to place another order for a baby gift.


Sunday, October 6, 2013

Cirque du William

 
You're invited to the "World's Greatest Party!"
 
William was around four months old when I was out shopping, totally minding my own business, and found these fabulous circus party supplies. It didn't matter that I had eight months to wait. I loved them and knew that I wanted his party to be circus themed. Thus Cirque du William was born. 
 
 
 To start the party on a festive note, I found these cute little box invites from Oriental Trading Co. They came with a clown nose and party whistle. I added a couple of other things to make it a little more fun.
 
 
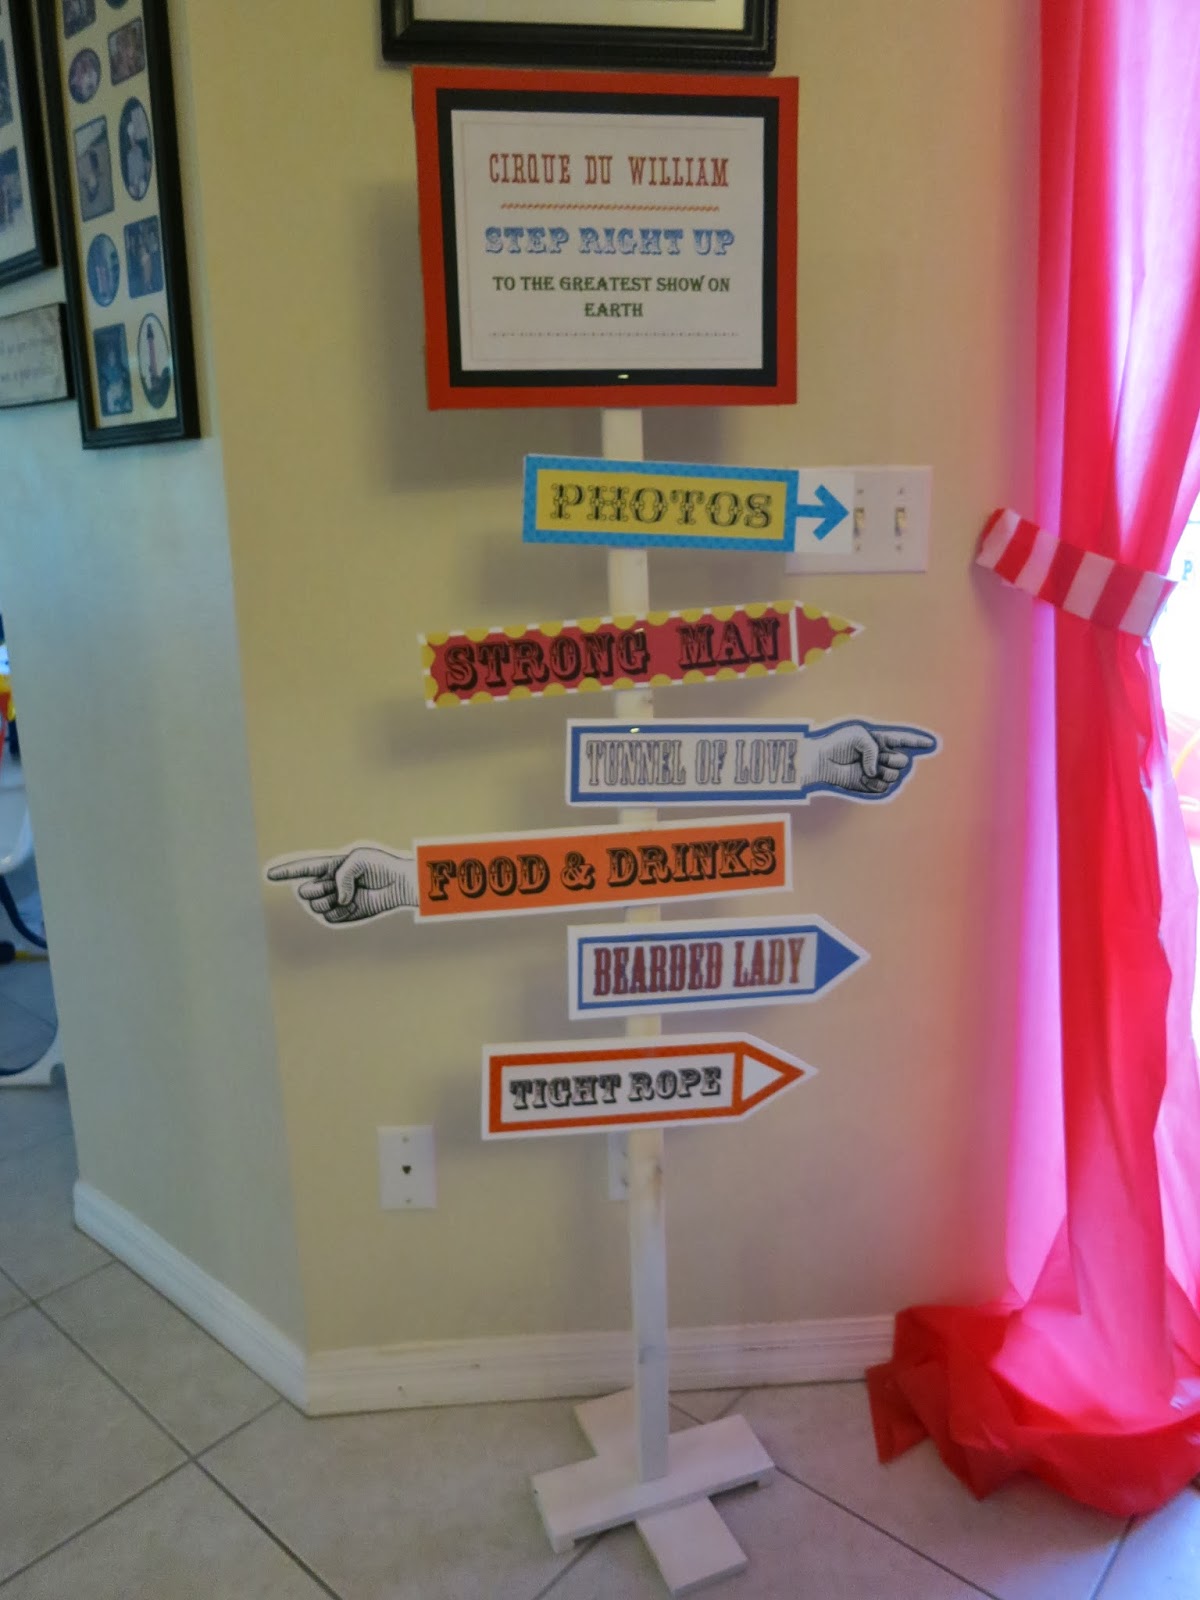
 Various party decorations. I found the balloons at Party City (the only benefit of your child having a very popular name). My crafty momma made the directions sign. The party favors were Barnum's animal cracker boxes (the sign beside them says "Hope you enjoyed the show"). I painted the ringmaster onto a poster board with acrylic paints (my inspiration was found on Google Images - more about that later).
 
 
The dessert table...my favorite type of table!
 
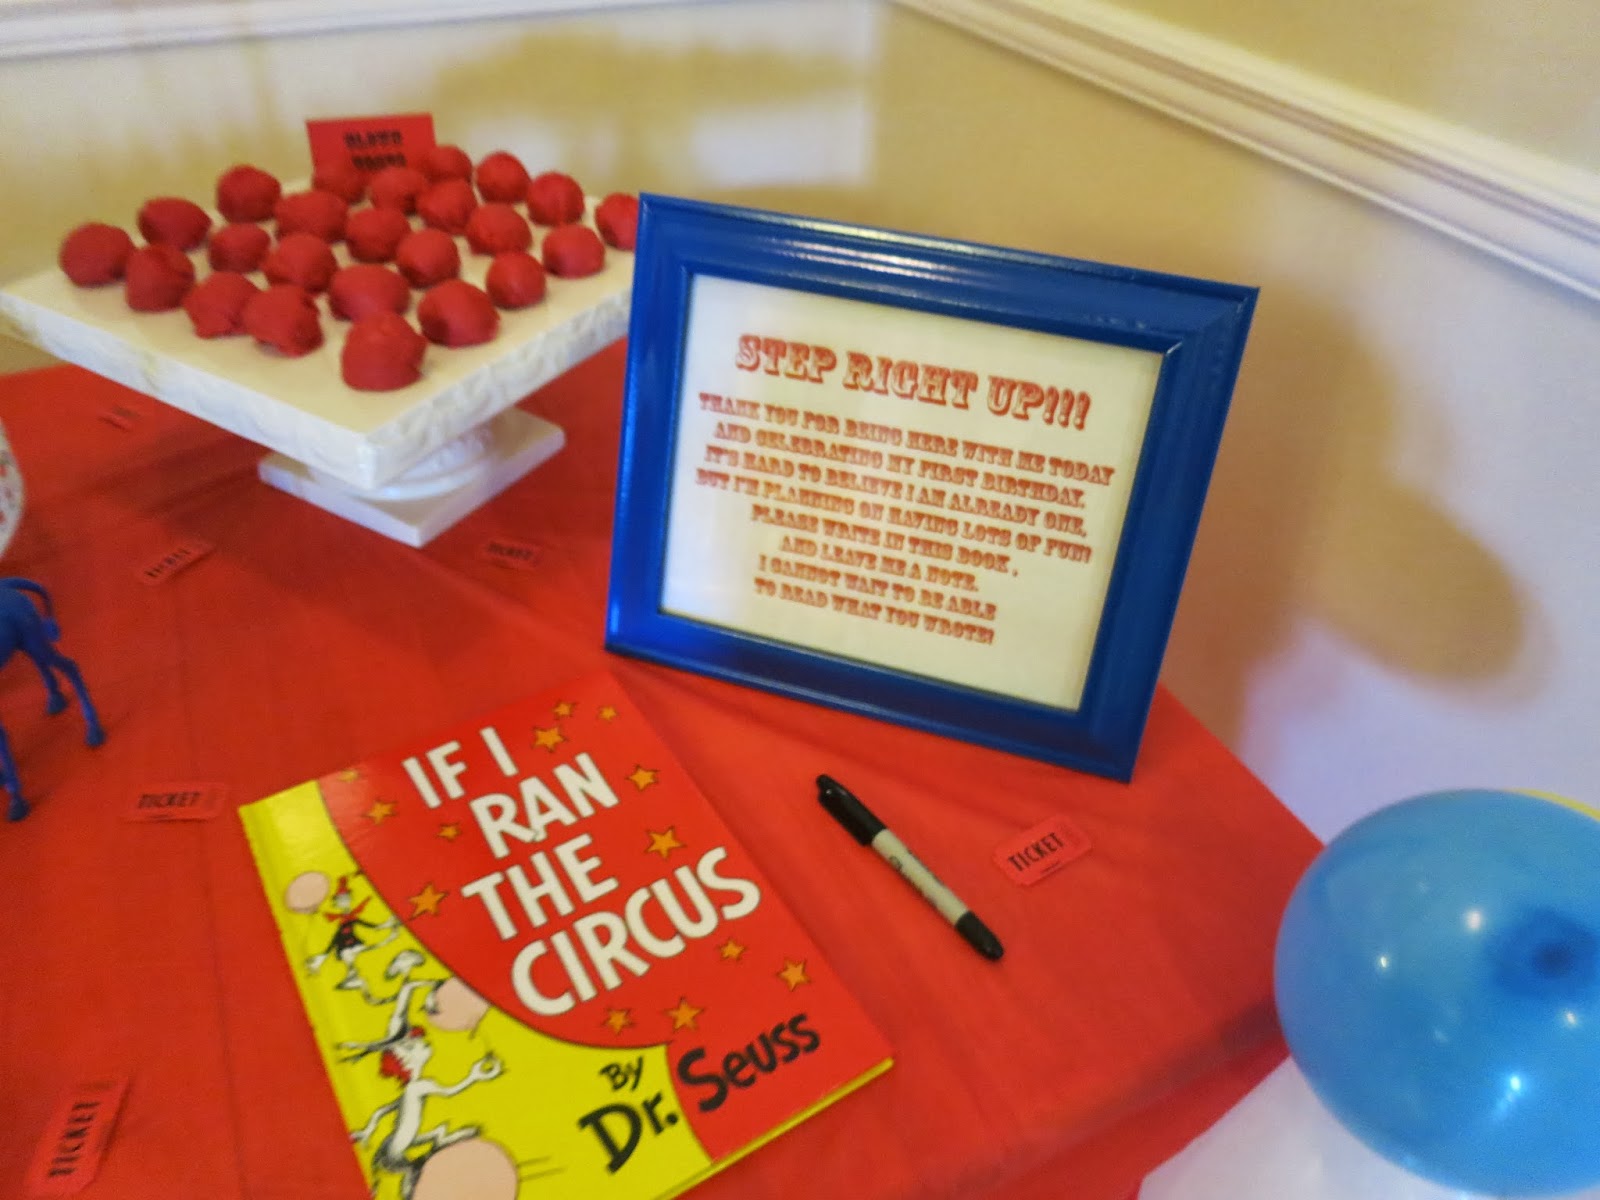
I knew I wanted a book for the guests to sign and Dr. Seuss' If I Ran the Circus was perfect. I also wanted a poem with instructions for the guests. I searched and searched but couldn't find exactly what I wanted. I found this poem and tweaked it a bit.
Thank you for being here today
And helping celebrate my first birthday.
I cannot believe I'm already one,
But I'm planning on having lots of fun.
Please open this book and leave me a note.
I cannot wait to be able to read what you wrote.
 
 Some more of the décor: dollar store animals spray painted blue, added some rick-rack and feathers,  topped with a sequin and...viola! Circus animals!
 
 
I found a picture of acrobat silhouettes on Pinterest that I liked. Well, my mom took the idea and ran with it. She traced and cut out the following shadows by hand. They wrapped around the kitchen island, but in all the excitement, I forgot to get a picture of the finished product. :(
 
They were magnificent and William enjoyed taking them down after the party.
 
 
William wore a personalized romper from Little Sofie's Boutique via Etsy. (http://www.etsy.com/shop/LittleSofiesBoutique ) It was so perfect for the party!
 
 We created the big top look with a roll of striped tablecloth. It brought back a lot of wedding memories, because my mom and I used a similar method to put up a white canopy over our wedding reception.
 
 This little photo prop took every artistic bone in my body, and it still wasn't that good, but it served it's purpose. I use Google Images for inspiration all the time! In this case, I found some cartoons on Google Images and sketched the pictures onto the plywood with a pencil first. Then I painted over the pencil with cheap acrylic paints. (Love William's expression in this.)
 
 
Opening presents with mommy and daddy! 
 
 
 This was William's reaction to tasting the frosting. He loved it, but that's all he tried. He only licked the icing off with his fingers. There was no "smashing" involved with his smash cake.
 
 Happy 1st Birthday, William Gabriel!

Tuesday, September 24, 2013

Off to Neverland

William's Nursery Neverland: a place where little boys don't have to ever grow up.

I knew years and years ago that if I ever had a baby boy I wanted a Peter Pan nursery. In the summer of 2012 we started working on William's very own Neverland.


Step1: After my hubby painted the walls a beautiful light blue, my mom (after watching numerous youtube tutorials) painted big, puffy clouds sporadically throughout the room. I stress that these were sporadic and not clumped together all over the room. She did an amazing job although it's hard to tell just how spectacular they are in pictures.
 

Step 2: My dear friend, Lauren, is an amazing artist and she volunteered to paint a Peter Pan Mural for me...oh my joy!


 This took a total of 20+ hours. There must be dozens of shades in Wendy's hair alone.
Step 3: Bedding. But first a history lesson. My first "real" job was when I was 15 years old and I worked in a JoAnn Fabrics. While I was there, a beautiful blue and gold fabric came in. I told my mom if I ever had a boy, I wanted that in his nursery. Well, when we found out we were having a son I went to JoAnns, nearly 10 years later, and there was one roll left...in the clearance section. Just enough for William's nursery. 
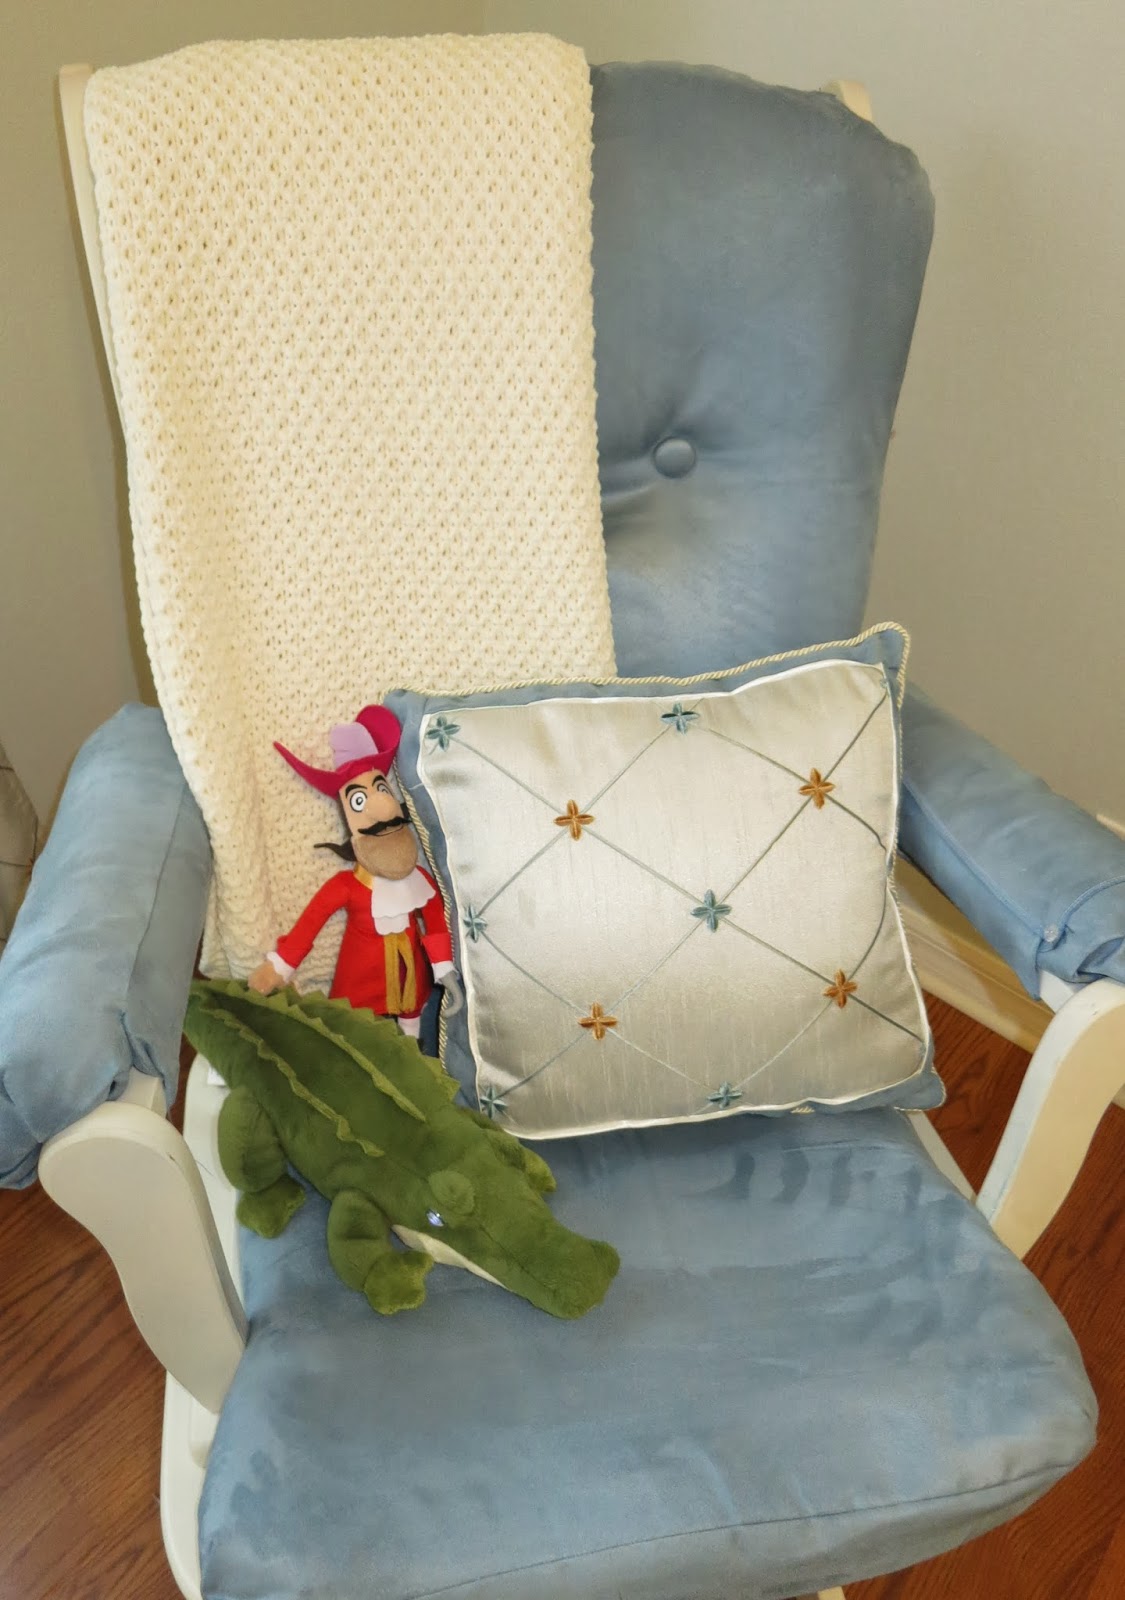
Once again, my super crafty momma (she should be the one with a blog) came to the rescue and made the quilt, bedskirt, bumper pads, sheet, curtains and pillow for me! And reupholstered a glider to match!!!


Step 4: Finishing Touches 

I googled a template for Peter Pan's hat and used felt and jewelry hemp. My fingers were a bit weary by the end.

All it takes is faith and trust...and pixie dust. 

Found this perfect map of Neverland on etsy from etsy.com/shop/imaginactory .
Captain Hook and the crocodile! I was beyond happy to find both of these.
The clock tower was a gift from my aunt and uncle - It is a vintage tin piggy bank. On the far left is a hand crafted photo album created by my dear friend Karen (visit her etsy shop www.etsy.com/shop/PhotoGarnish for more albums).

The Jolly Roger I found on ebay. It just needed a polish.  
This very special teddy bear was a gift from my husband when we were dating. I loved incorporating it into William's room.
My favorite quote from the book.

Then put it all together for the finished product.


I still have a few things I would like to add to the room...Peter's shadow for one. All in good time. 

“You know that place between sleep and awake, that place where you still remember dreaming? That’s where I’ll always love you, Peter Pan. That’s where I’ll be waiting.”